Submit a case
Who this is for: Dentists with a completed profile and (if your plan requires it) a payment method on file.
Time required: ~3 minutes
Before you start
- Your account must be activated — complete the onboarding checklist on the dashboard.
- Have your patient name, tooth selection, and any case files ready (impression scans, photos, x-rays as JPEG/PNG/PDF/STL).
- Confirm you have patient consent to share PHI with the lab. You'll be asked to attest to this before upload.
Steps
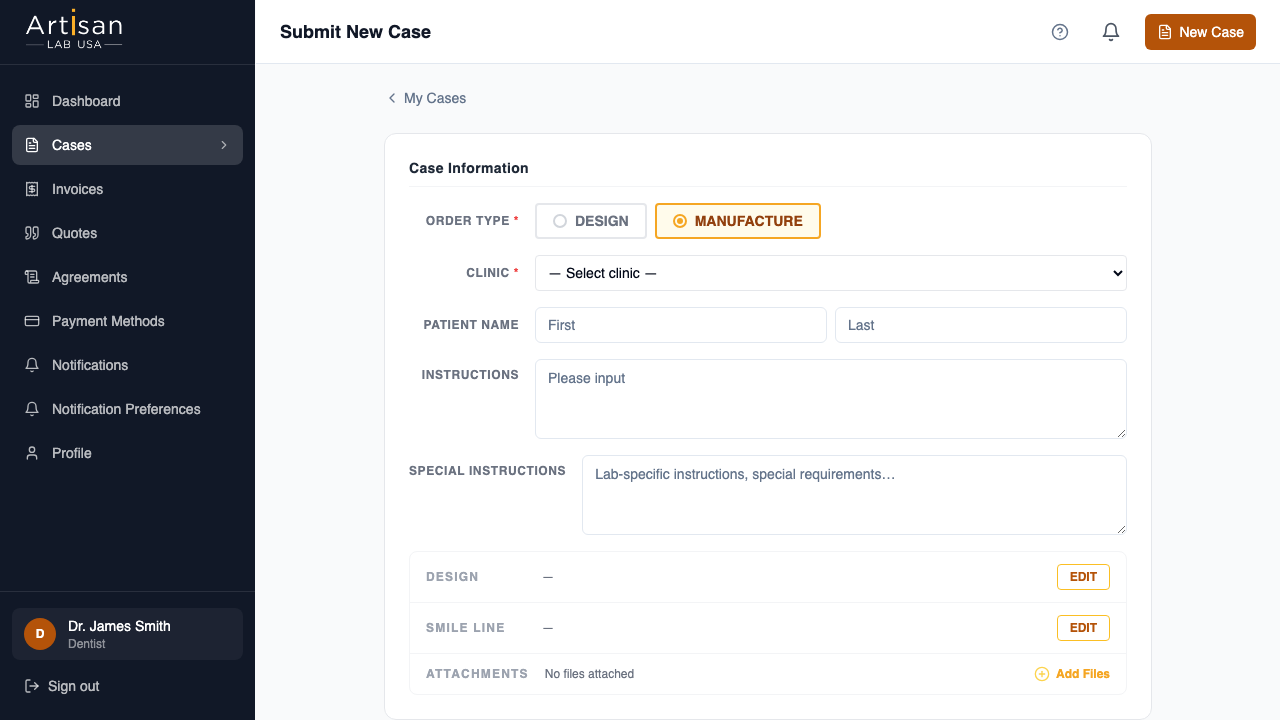
1. Open the new-case form
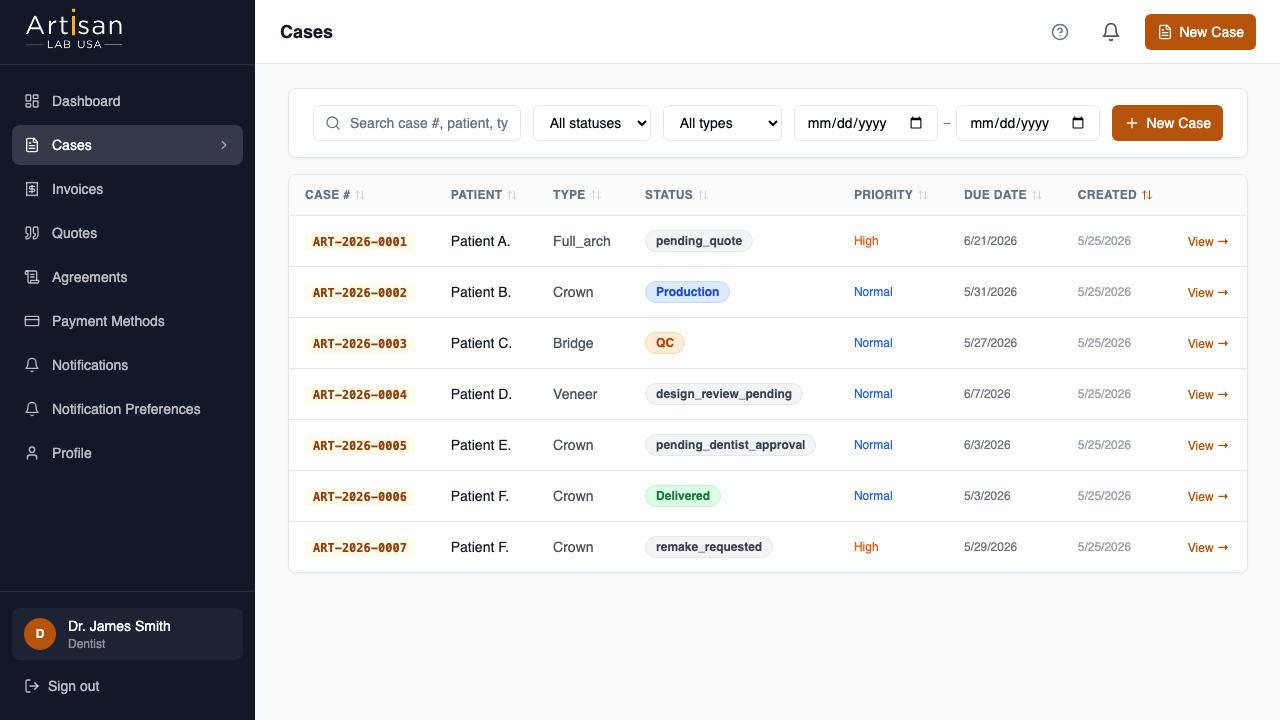
From the dashboard or the Cases page, click Submit a case (top right).
2. Enter patient information
Fill in First name and Last name. Patient name is the only personally identifiable info we store — keep date of birth out unless you explicitly need it.
3. Pick the order type
Choose from:
- Crown / Bridge / Implant — fixed restoration
- Denture — partial or full
- Aligner / Orthodontic — clear aligner therapy
- Other — describe in the notes field
4. Select teeth
Click each tooth in the FDI/Universal chart to add it to the case. For each selected tooth, choose:
- Catalog item (e.g. "Zirconia Crown — Anterior")
- Shade (Vita classical scale or your preferred system)
- Any per-tooth notes
5. Add files
Click Upload files. Accepted formats: JPEG, PNG, PDF, STL, PLY. Max 50MB per file.
Important: JPEG files have EXIF metadata (which can include location and camera info) stripped automatically on upload for HIPAA safety.
6. Confirm patient consent
Check the box that reads:
"I confirm the patient has not been identified by name in any uploaded file, or I have obtained patient consent to share this file."
This is a hard requirement — the Submit button stays disabled until checked.
7. Review and submit
The right side panel shows:
- Total tooth count
- Estimated cost (based on your price list)
- Selected catalog items
- Files attached
When everything looks right, click Submit case.
What happens next
- The case is created with status received.
- The lab is notified (typically within 60 seconds).
- You'll receive an email confirmation. SMS confirmation if you opted in.
- The case appears on the Cases page; click it to view full details, comments, status timeline, and file list.
- If your billing policy is prepay, a Stripe authorization hold is placed on your default card. The hold becomes a charge when we ship the case.
Troubleshooting
- "Payment method required" blocker — you're on prepay/autopay billing and have no card. → Add a payment method
- "Complete your profile" blocker — the license number or licensing state field is empty. Go to Profile.
- File upload fails — check file size (50MB max) and format. If under 50MB and still failing, try a different browser or contact support.
- The Submit button is greyed out — most common cause: patient consent checkbox unchecked. Other causes: no teeth selected, or a required field empty.